Click here to see the comparisons between the paid and free features
How to sign up?
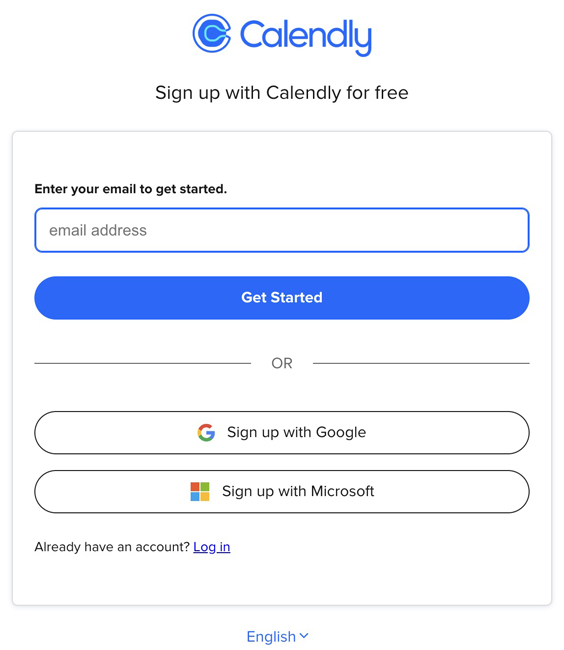
- Click on Get Started to begin

- There are multiple ways to sign up for Calendly. Enter your CS/personal email to signup or you could use your Princeton email. Depending on if you use Google or Office 365 for your Princeton account, you could sign up with the corresponding service.
- Once you create an account you’ll be asked to set up some quick info. You can name your calendar anything of your choosing.

- You’ll be asked to connect your calendar to Calendly. You can sync multiple calendars to it however multiple calendars are a paid feature. We recommend syncing your work calendars, as Calendly can use the entries to check for any conflicts before allowing anyone to reserve an appointment.

- You can then selectively choose what calendars you would like Calendly to use to check for conflicts and subsequently what calendar to create new entries into. You can add more calendars later.
- In the next step, you can enter your availability. This can be changed and customized at any time.

Booking Page
- Now let's create a booking page of your choice. Please note that Calendly is a free service with a lot of features and even more paid features. As a limitation of the free feature, you can only have one booking page. Choose a name and duration for your meeting.

Editing your Booking Page
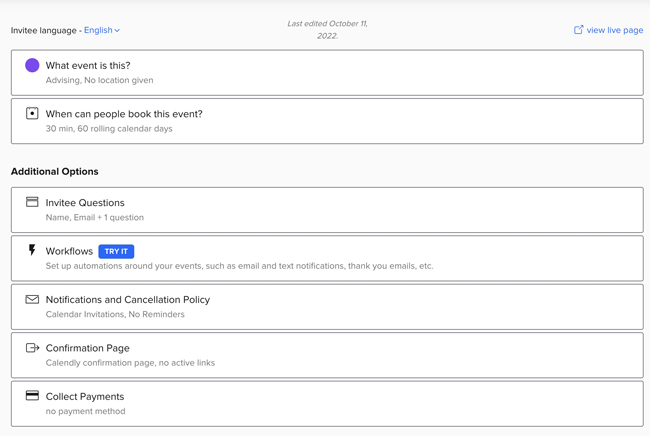
- Once you’re in your main account, you can see your event type. In this example, we have it as Advising for 30 minutes.
- Click on the gear icon to bring up more options and tap Edit.

- It’s important to pay attention to the first two sets of questions as this is going to customize your event and booking times.
- Let's click on the first option Under location, you can choose the location of the meeting. You can choose multiple locations which gives the user a choice of how they would like to meet up with you (in person, via Zoom, etc.)
- Zoom and other video conferencing options will automatically create a link and will email it over to the user requesting the appointment. Setting this up is easy, just follow the edit link and It will take you to the corresponding integration page, to set it up.
- In the second option “When can people book this event?” we can customize meeting times and other details. This is a very important tab. Here you can set how far into the future, someone can schedule an appointment. You can also set the duration along with your working hours. Additionally, you can also use the “Set Custom Hours” option to put in dates that you are not available (vacations, doctor’s appointments, departmental events/holidays, etc.)
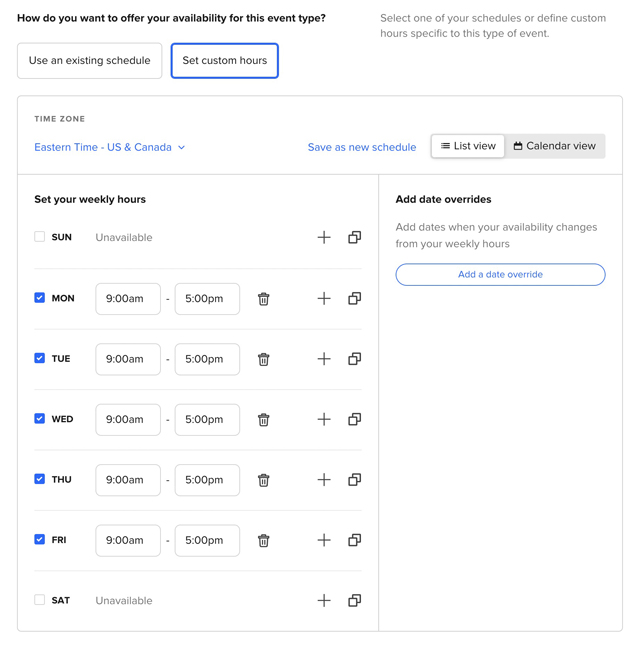
- You could also use this tab to pad some time before and after the appointment, in case you need time to prepare for the meeting.
- Invitee question allows you to add more questions to your booking page (Course number, comments, etc.)
- Workflows, Notifications & Cancellation Policy, and Collect Payments are part of the premium features. Confirmation Page allows you to either use their default confirmation page or a URL of your choice that can lead the user to more instructions or information.
- Hit the View Live Page to see what your booking page looks like.

If you have any questions or concerns, please email us at csstaff@cs.princeton.edu